Buat anda yang tertarik belajar product security juniper, dalam hal ini adalah SRX. juniper menyediakan tools nya yang dikenal dengan juniper firefly atau juniper vSRX. related juniper secuirty anda bisa membacanya disini. oke anda harus mendownload juniper firefly di junipervsrx (dengan filename;junos-vsrx-12.1X47-D20.7-domestic.ova). Setelah vsrx dam vmware ada di local disk anda. Anda perlu install vmware nya terlebih dahulu setelah itu anda tinggal open file vsrx yang anda download sebulmnya. Silahkan ikuti detail step nya pada tulisan bagaimana memulai belajar juniper. Jika anda mengikuti step nya, minimal coba anda buat kebutuhan interface vsrx seperti tampilan berikut 🙂
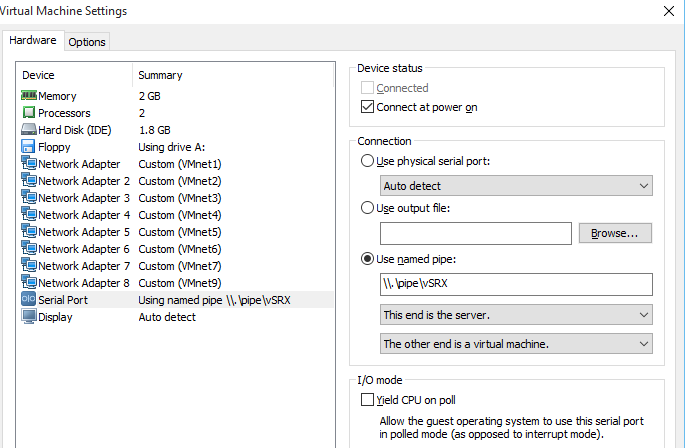
Interface yang anda tambahkan tidak harus berututan. akan tetapi anda perlu tahu bahwa vmnet1 adalah interface yang bisa langsung koneksi dengan komputer anda. vmnet1 di srx akan terdeteksi sebagai interface ge-0/0/0. Jadi nanti untuk kebutuhan manage via ssh atau GUI, anda bisa akses ip interface ge-0/0/0 tersebut.
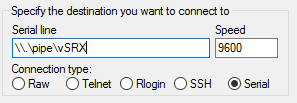
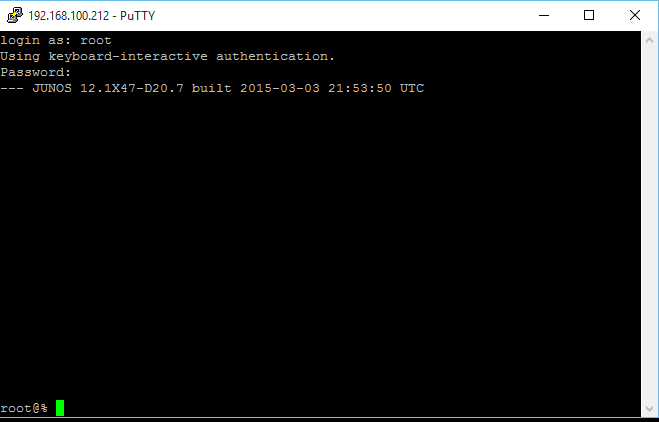
Step kedua anda tinggal power-on vsrx nya. selanjutnya anda bisa console dengan putty dengan cara seperti berikut:
Silahkan tunggu, sampai muncul tanda login. seperti biasa anda harus login dengan user root tanpa password. Anda bisa coba cek interface nya dengan show interface terse seperti berikut:
|
1 2 3 4 5 6 7 8 9 10 11 12 13 14 15 16 17 18 19 20 21 22 23 24 25 26 27 28 29 30 31 32 33 34 35 36 37 |
root> show interfaces terse Interface Admin Link Proto Local Remote ge-0/0/0 up up ge-0/0/0.0 up up inet 192.168.159.129/24 gr-0/0/0 up up ip-0/0/0 up up lsq-0/0/0 up up lt-0/0/0 up up mt-0/0/0 up up sp-0/0/0 up up sp-0/0/0.0 up up inet inet6 sp-0/0/0.16383 up up inet 10.0.0.1 --> 10.0.0.16 10.0.0.6 --> 0/0 128.0.0.1 --> 128.0.1.16 128.0.0.6 --> 0/0 ge-0/0/1 up up ge-0/0/1.0 up up inet 192.168.2.1/24 ge-0/0/2 up up ge-0/0/2.0 up up inet 192.168.3.1/24 ge-0/0/3 up up ge-0/0/3.0 up up inet 192.168.4.1/24 ge-0/0/4 up up ge-0/0/4.0 up up inet ge-0/0/5 up up ge-0/0/5.0 up up inet ge-0/0/6 up up ge-0/0/6.0 up up inet ge-0/0/7 up up ge-0/0/7.0 up up inet dsc up up gre up up ipip up up irb up up lo0 up up lo0.16384 up up inet 127.0.0.1 --> 0/0 ---(more 68%)--- |
jadi interface yang bisa anda manage sebanyak 8 interface yaitu dari ge-0/0/0 s.d ge-0/0/7, ini sesuai dengan jumlah interface yang ditambhkan di vmware sebelumnya. Jika anda sudah sampe tahap diatas berti anda sudah berhasil ya hehe. Tinggal diset password root atau bisa menambahkan user baru. untuk ngecek konfigurasi anda tinggal ketik show configuration di mode operationalnya.
|
1 2 3 4 5 6 7 8 9 10 11 12 13 14 15 16 17 18 19 20 21 22 23 24 25 26 27 28 29 30 31 32 33 34 35 36 37 38 39 40 41 |
root> show configuration ## Last commit: 2016-03-16 22:42:00 UTC by root version 12.1X47-D20.7; system { autoinstallation { delete-upon-commit; ## Deletes [system autoinstallation] upon change/commit traceoptions { level verbose; flag { all; } } } services { ssh; web-management { http { interface ge-0/0/0.0; } } } syslog { user * { any emergency; } file messages { any any; authorization info; } file interactive-commands { interactive-commands any; } } license { autoupdate { url https://ae1.juniper.net/junos/key_retrieval; } } ## Warning: missing mandatory statement(s): 'root-authentication' } ---(more 30%)--- |
di atas ada waning, terkait root-auth, ini artinya password root harus diset terlebih dahulu. ikut langkah berikut:
|
1 2 3 |
root# set system root-authentication plain-text-password--->enter New password:password_anda Retype new password:password_anda |
Sekarang mari kita coba aktifkan service ssh dan GUI nya.
|
1 2 3 4 5 |
root# show system services | display set set system services ssh set system services web-management http interface ge-0/0/0.0 set system services web-management https system-generated-certificate set system services web-management https interface ge-0/0/0.0 |
Interface ge-0/0/0.0 kita set sebagai functional-zone. jadi ge-0/0/0.0 dikhususkan sebagai interface manaegment atau administraion vsrx nya. ini sebetulnya tidak baku ya.
seblumnya biar gk bingung, anda bisa menghapus konfig yang ada di hararki security dengan cara delete security
|
1 |
root# delete security |
baru lanjut ke langkah berikut:
|
1 2 3 4 |
root# show security zones | display set set security zones functional-zone management interfaces ge-0/0/0.0 host-inbound-traffic system-services https set security zones functional-zone management interfaces ge-0/0/0.0 host-inbound-traffic system-services ping set security zones functional-zone management interfaces ge-0/0/0.0 host-inbound-traffic system-services ssh |
jangan lupa setting ip interface ge-0/0/0.0. dan jika sudah jangan lupa di commit.
|
1 2 |
root# show interfaces | display set set interfaces ge-0/0/0 unit 0 family inet address 192.168.100.212/24 |
ip address nya hrus disesuaikan dengan network interface vmnet1 yang ada di komputer anda ya bro. Jika sudah coba di ping hasil nya harus sudah replay. dan skarang juga anda bisa akses GUI nya srx.
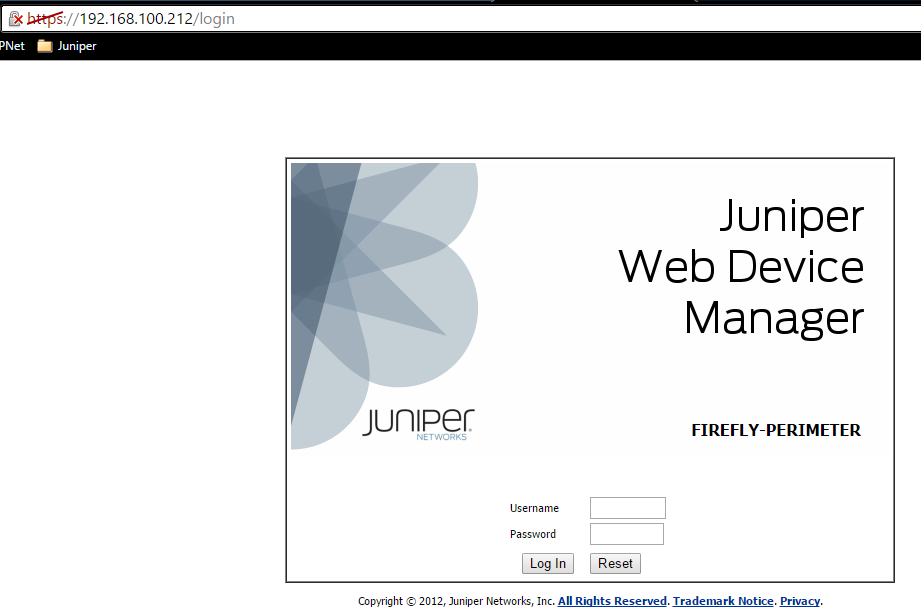
Nah anda berhasil hehe..silahkan login dengan user root dengan password yang anda set sebelumnya.
good job lah bila anda sudah ampe sini.. perjuangan yak haha, skrng coba pake putty, remote ip vsrx nya pake ssh.
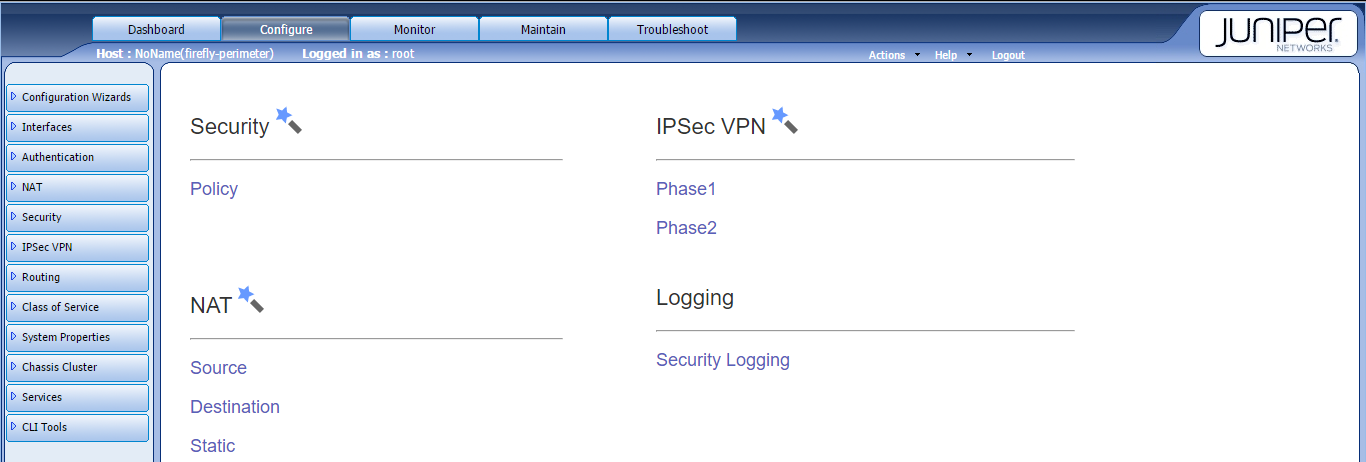
Mantap, anda skrang sudah bisa manage srx dengan dua cara yaitu bisa menggunakan console, ssh, atau pake GUI 🙂
Tulisan mengenai juniper srx, silahkan update terus di blog routecloud.net 🙂
Good luck!
Komentar